| Who Needs a Drone? |
With Apologies to My Photography Tutors
First, I’d like to apologise to all the authors, tutors, mentors and tour leaders who have tried to instil in me “correct” tripod technique. As they say, it’s not you, it’s me.I don’t particularly have a philosophical objection to the three legged beast, and you will catch me using one when the camera has genuinely got to stay in one place for a long time, for example videoing a wedding speech, or taking a time-lapse photo sequence. However I do prefer a more free-wheeling approach, and my discovery that the latest Panasonic Dual Image Stabilisation allows me to hand-hold a wide-angle shot for 2-3s, or an extreme telephoto for 1/5s, has only encouraged me to eschew support when not essential.I do actually own three of the things, but the large and relatively heavy Manfrotto has only been used on one single photo shoot. However, coupled with the laser level it has proven invaluable as a surveying tool for our kitchen refit and preparing for my new workshop. My medium-sized Gitzo is a solid, professional but lightweight device, my default for a “serious” tripod. However I suspect I’d scare the purists by pointing out the pistol-grip Manfrotto head – none of this fancy gear rubbish!
And then there’s the Frankentripod ™. (It’s great to have one search term which gets your website at the top of all the search engines, even if you have to make up a word to do it!) It’s the tripod I carry when I don’t want to carry a tripod, but feel I should, to show willing, or “just in case”. It does the job, most of the time, at very little cost in terms of luggage space or weight. I say “most of the time” because there are limitations – in Cinque Terre, for example, it wasn’t quite tall enough to clear some of the safety fences around the harbour in Manarola, but I found work-arounds.
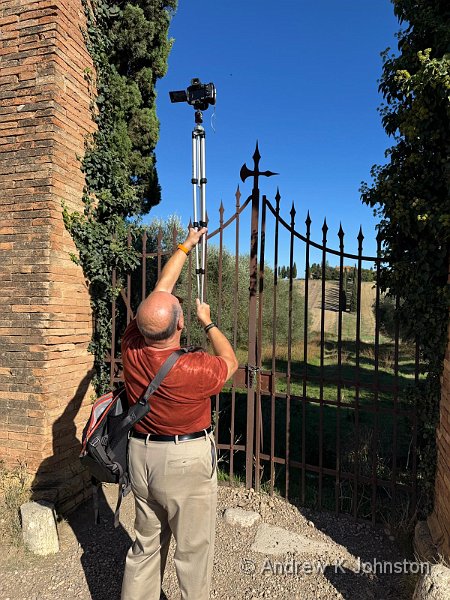
The Frankentripod also turns out to be the ideal device for my new tripod technique, which I call “why get a drone when you have a tripod?” The technique is simple:
- Extend tripod to full length, legs together
- Put camera on tripod
- Flip screen out so you can see it from below
- Put camera on self-timer
- Start self-timer
- Raise camera above your head, to clear obstacles such as vegetation, tall people etc.
- Compose your shot by tilting the tripod as required
- Wait for 0s
- Bingo!
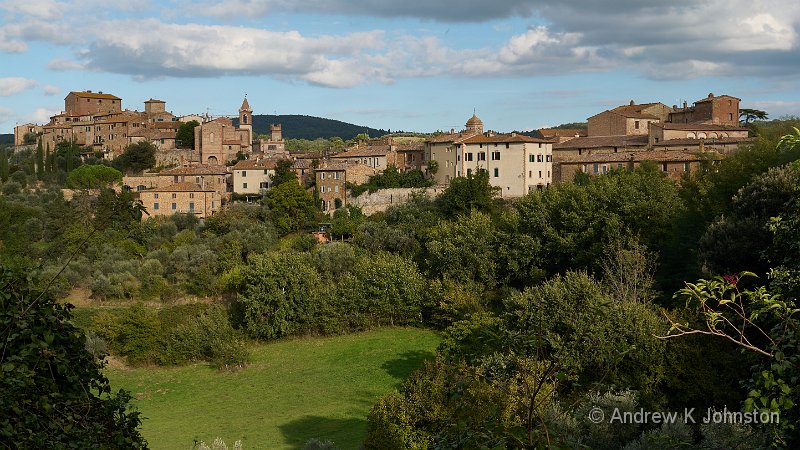
In the right situation this can be a game changer. For example, our views of Montisi from Castelmuzio were somewhat constrained by the fact that whoever was responsible for trimming the vegetation at the viewpoint was somewhat derelict in their duty. From head height the best wide shot was this, with some rather intrusive branches:

| Montisi from Castelmuzio (Show Details) |
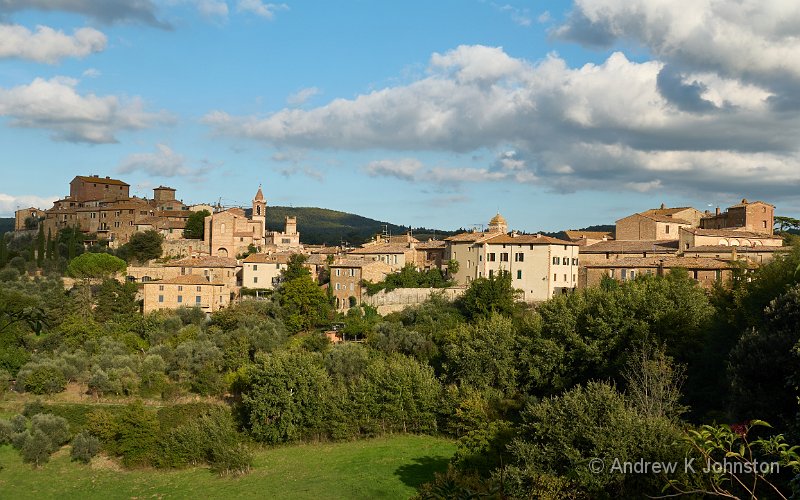
However, the Frankentripod method got my camera up above the errant foliage, and produced this:

| Montisi from Castelmuzio (Show Details) |
The method does have some pre-requisites, and a couple of trust issues:
- Lightweight camera and tripod. This is not going to work with a Canon 1DS, 600mm lens and Uranium tripod, unless you take my instruction in point 5 very seriously!
- A flip-out or flip-down screen bright enough to be viewed from the other end of the tripod
- Image stabilisation, very good image stabilisation
- Trust that your camera is firmly attached. Otherwise this could become somewhat dangerous and expensive, although a long strap (shorter than yourself, obviously), tied to the tripod head, and a hard hat might provide some mitigation
- A steady hand and strong shoulders, otherwise ditto. Pump iron!
- A bit of skill to compose and then hold the composition in 10s, or whatever the timer is on your camera.
Or I could just buy a drone, Darling Wife!
 Thoughts on the World (Main Feed)
 Main feed (direct XML)